Homemade slider buns
This is an easy recipe, you can either use this buns as small slider buns or as dinner rolls. They are soft and will last up to 3 days cover in a dry cool place.
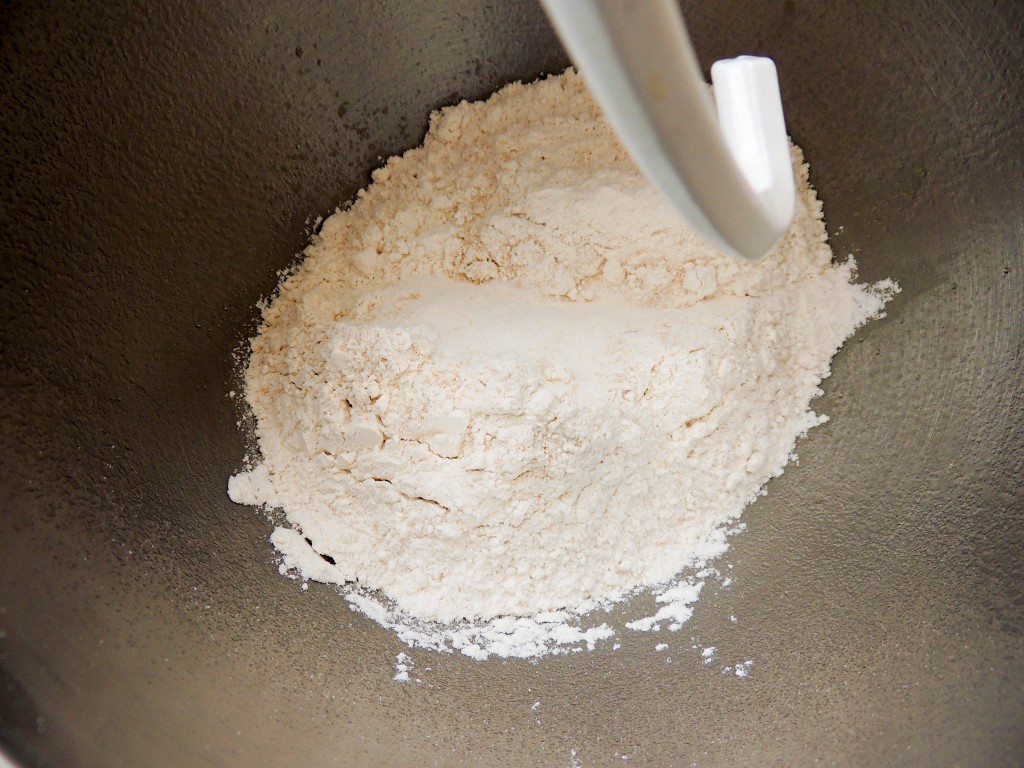
I had all purpose flour, but you can use the flour you prefer, (whole wheat, yucca, chickpeas) but you will have to adjust the wet ingredients in each case. So I take all the dry ingredients and sift them, the baker in me is used to working that way, even if I know this is bread and not cake, but I fill relief when I sift the flour so.. I just do it. I lightly grease my mixer bowl before adding the ingredients, you can tell in this picture.
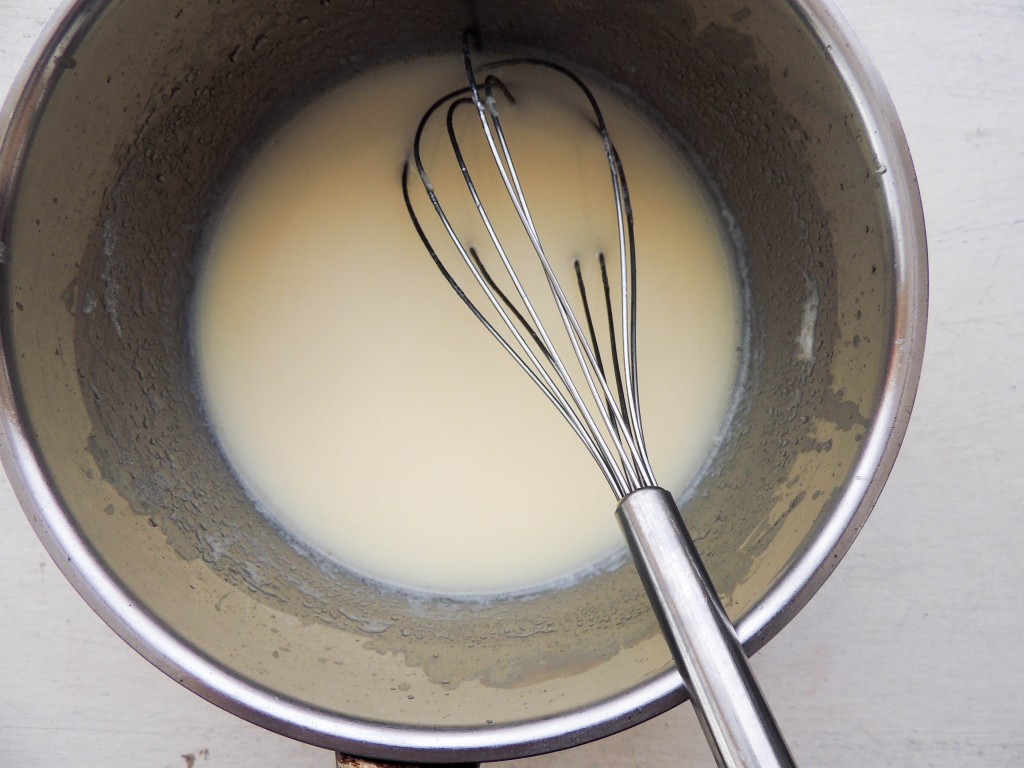
In a small pot I heat the milk until is about to simmer, then take it off the heat and add my vegetable shortening and and stir in shortening until melted. I used good quality whole milk and shortening. You will then add this mixture to the dry ingredients and mix at a low speed. Then when the dough forms a ball around the dough hook, and the bowl is clean, you are done. (3 – 5 minutes)
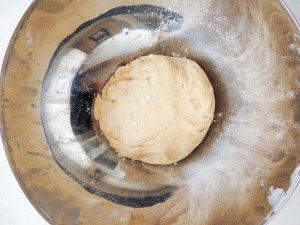
You can form a ball with dough then put it in a bowl and cover it, let it rest for 1 hour and double in size.
Slider buns
Ingredients
- 1 1/4 cups whole milk
- 6 tablespoons vegetable shortening
- 3 cups all-purpose flour
- 1/4 cup granulated sugar
- 1 tablespoon kosher salt
- 1 1/4-ounce packet active dry yeast (2 1/4 teaspoons)
- Toasted sesame seeds
Instructions
- Sift all my dry ingredients together, and lightly grease the bowl of my mixer before adding the ingredients.
- Place milk in a small saucepan and bring to a simmer over medium heat. As soon as milk simmers, remove from heat and stir in shortening until melted. Set aside to cool slightly.
- Add warm milk mixture and remaining ingredients to the bowl of a stand mixer fitted with a dough hook attachment. Mix on lowest speed until dough comes away from the sides of the bowl and forms a ball, about 1 minute. Increase speed to medium low and mix until dough is smooth and springy, about 4 minutes.
- Lightly oil a large mixing bowl, add dough, and turn to coat in oil. Cover with a damp towel and let rise in a warm area until doubled in size, about 1 hour.
- Punch down dough and turn onto a clean surface. Divide dough into 18 (1-1/2-ounce) pieces. Shape each piece into a smooth, round bun (keep the rest covered with the towel as you work). Slightly flatten bun and place on an ungreased baking sheet. Repeat to make 18 buns.
- Set buns aside in a warm area until slightly risen and puffy (note that they will not double in size), about 30 to 40 minutes. Meanwhile, heat the oven to 400°F and arrange the rack in the middle.
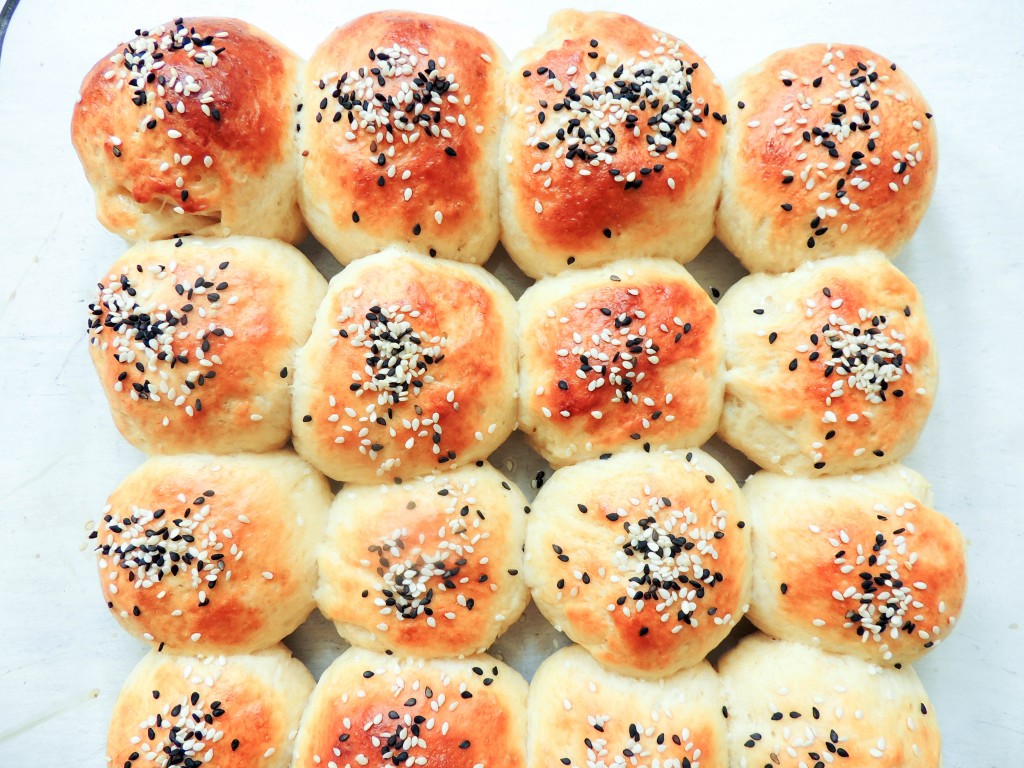
- When buns have risen, bake in the oven until they are golden brown, crusty, about 15 to 20 minutes, depending on your oven and humidity. Remove from the oven, transfer to a rack, and let cool at least 10 minutes before serving.
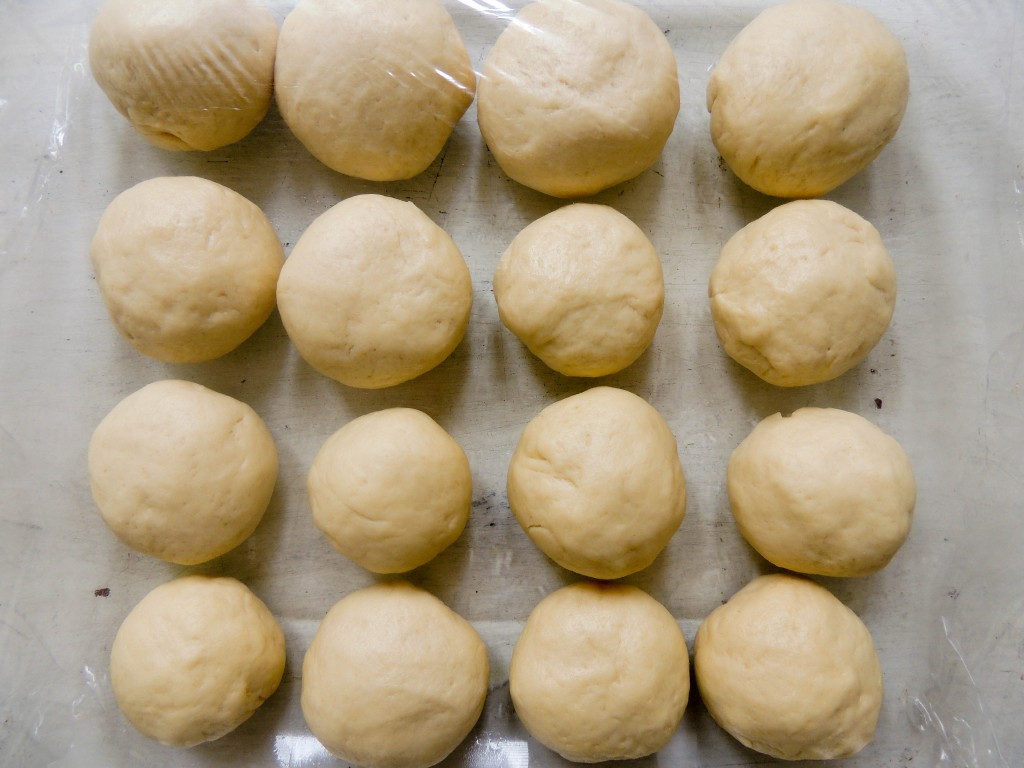
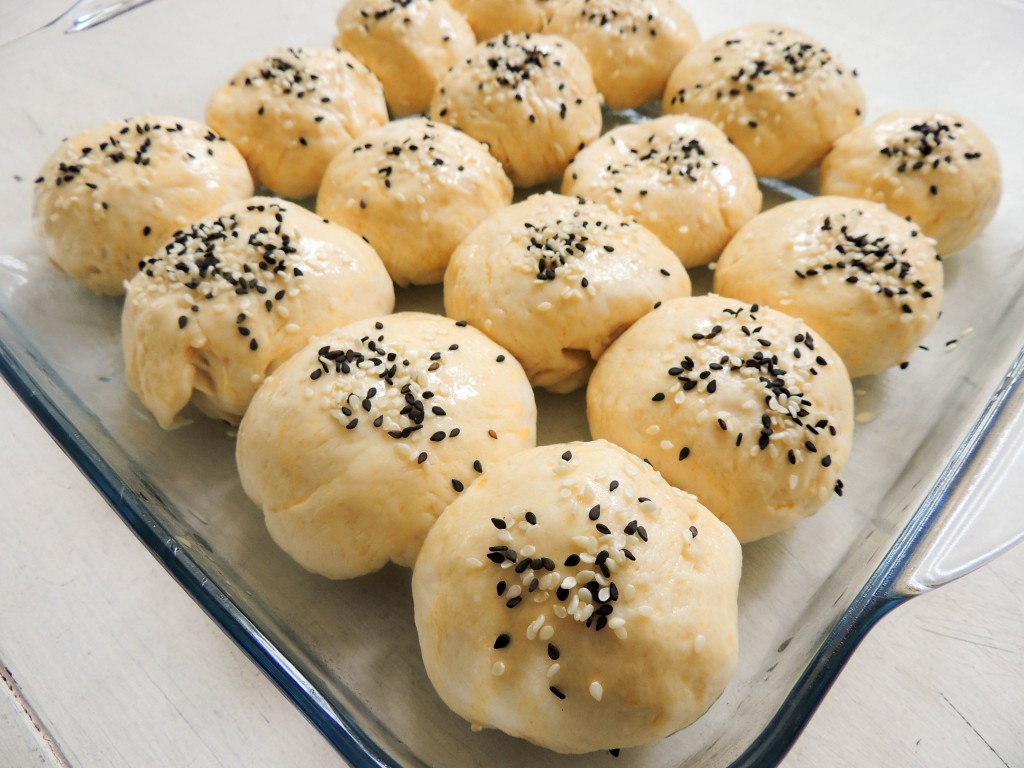
You can divide the dough on 16 – 20 small balls (golf size) and form round buns, yo can can also roll the dough and cut it in circles with a cookie cutter, and then put them on a greased baking tray and cover with a damp cloth or film, to rest again, for about 30 minutes. And 15 to 20 minutes in the oven.. Ta Da!! Like magic your house will have this wonderful smell of fresh baked bread! and your kids will come running to you begging to let them have at least one! Believe me you wont regret it! this recipe is so easy, you can even let your kids help!
Esta es una receta fácil, puede utilizar estos panes como panecillos de hamburguesa o como panecillos para la cena. Son suaves y podrán conservarlos hasta 3 días cubiertos en un lugar fresco y seco.
Utilicé harina todo uso, pero puede utilizar la harina que prefiera, (integral, yuca, garbanzos), pero usted tendrá que ajustar la receta a la humedad de los ingredientes en cada caso. Así que me tomo todos los ingredientes secos y los paso por un tamiz, engrase ligeramente el tazón de la batidora antes de añadir los ingredientes.
Happy baking!
Panecillos caseros
Ingredients
- 1 1/4 tazas de leche entera
- 6 cucharadas de manteca vegetal
- 3 tazas de harina todo uso
- 1/4 taza de azúcar granulada
- 1 cucharada de sal kosher or gruesa
- 1 1/4 onzas paquete de levadura seca activa (2 1/4 cucharaditas)
- Semillas de sésamo o ajonjolí tostadas
- 1 huevo batido
Instructions
- Tamizar todos los ingredientes secos, y engrasar ligeramente el bol de la batidora antes de añadir los ingredientes secos.
- Coloque la leche en una cacerola pequeña y llevar a ebullición a fuego lento. Tan pronto como la leche hierve, retirar del fuego y agregar la manteca hasta que se derrita. Deje enfriar ligeramente.
- Añadir la mezcla de leche tibia a los ingredientes secos que ya están en el bol de la batidora equipada con un accesorio de gancho para amasar. Mezclar a velocidad baja hasta que la masa se despegue de los lados del tazón y forme una bola, aproximadamente 1 minuto. Aumentar la velocidad a media-baja y mezclar hasta que la masa esté suave y elástica, unos 4 minutos.
- Engrase ligeramente un bol grande, añadir la pasta, y cubra con una toalla húmeda y deje crecer en un lugar cálido hasta que doble su tamaño, aproximadamente 1 hora.
- Golpee la masa y saque todo el aire. Dividir la masa en 16 - 18 (1-1 / 2 onzas) piezas. Forma cada pieza en un panecillo liso, redondo (mantener el resto cubierto con la toalla mientras trabaja). Ligeramente aplanar y colocar en una bandeja para hornear sin engrasar. Repita para los 18 panecillos.
- Coloque los panecillos de lado en un lugar cálido hasta que hayan aumentado ligeramente de tamaño (tenga en cuenta que no van a duplicar su tamaño), alrededor de 30 a 40 minutos. Mientras tanto, caliente el horno a 400°F (180°C) y disponer una parrilla en el centro.
- Cuando los panes hayan aumentado de tamaño, hornear hasta que estén dorados, unos 15 a 20 minutos, dependiendo de su horno y la humedad. Retirar del horno, transferir a una rejilla y dejar enfriar al menos 10 minutos antes de servir.
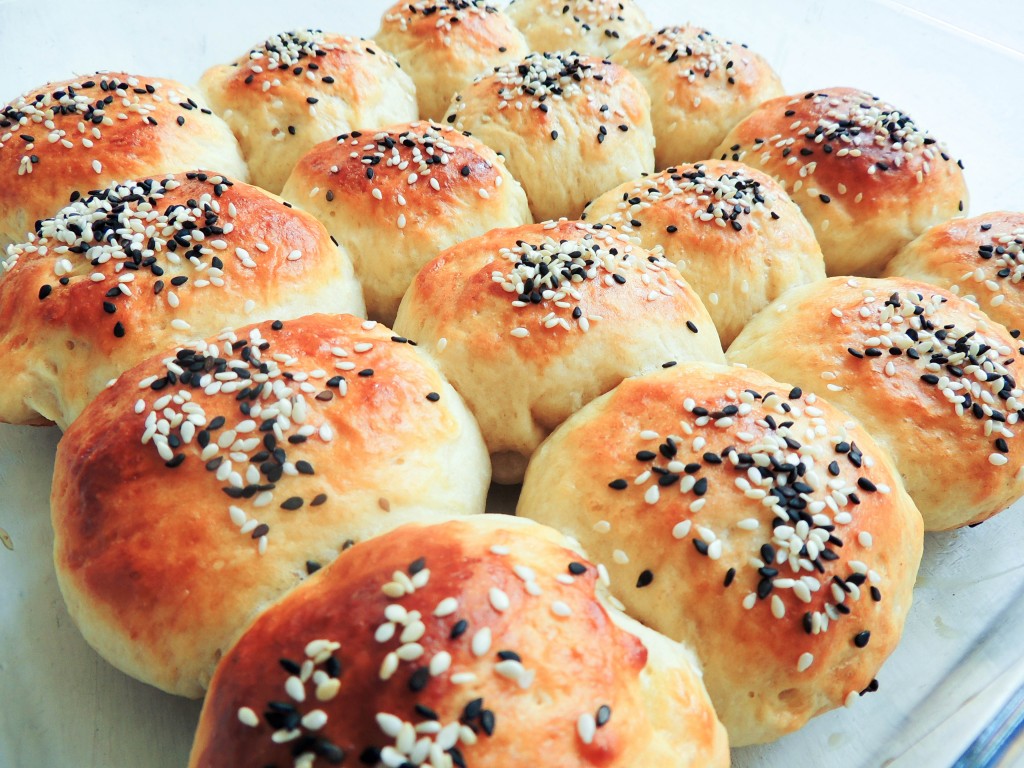
Su casa se llenará de un increíble aroma de pan recién hecho que nadie podrá resistirse! Esta receta es muy fácil, podrá permitir que sus niños participen.
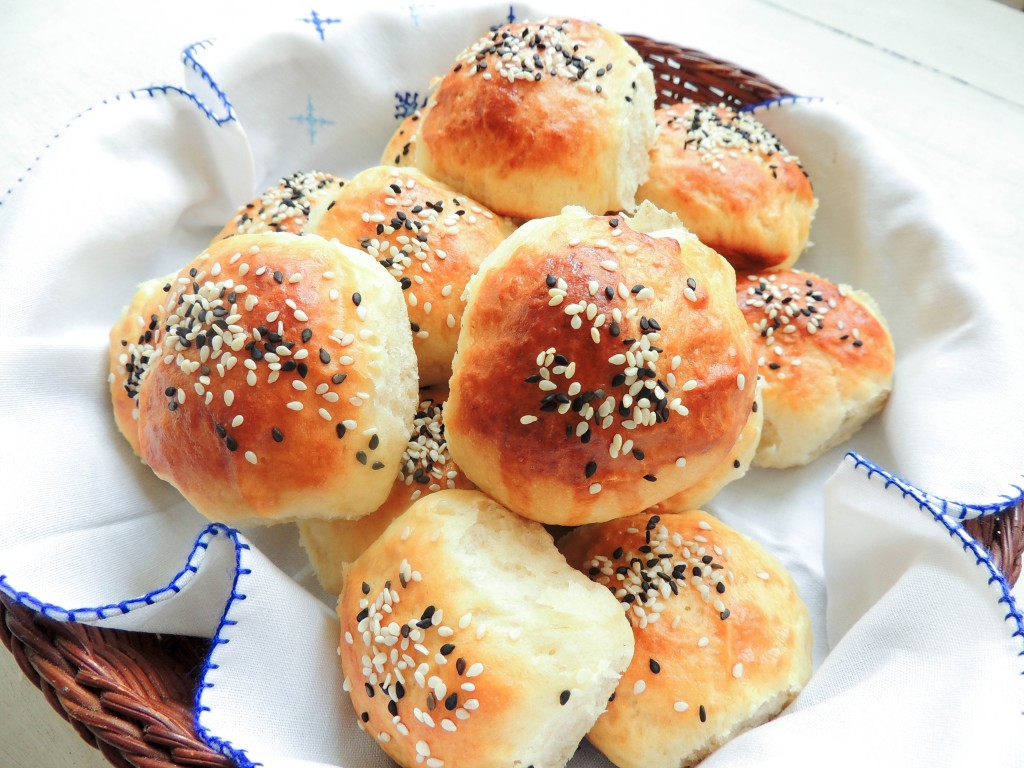
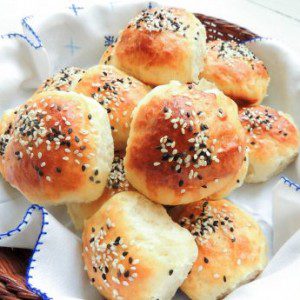
Cuando estén listos se verán así! Sean felices horneando!




4 thoughts on “Homemade slider buns”
So glad you have the comments for these sliders up and operating! Because I have been meaning to tell you how delish these carby, lovelies look! Seriously Scrumptious! Nothing like homemade bread! Yum!!!! *hugs*
🙂 the best part was the most amazing aroma through our home, had my kids begging to let them had at least one before dinner! Hugs!
Oh my…I could eat that whole batch, warm from the oven, with a tiny pat of butter. I’m dreaming about it now! Thank you for sharing this wonderful recipe, my friend!!
I know exactly what you mean, my kids ate them before dinner!