Making homemade ricotta
Making my own ricotta cheese was really simple and rewarding! knowing what my family is really eating!
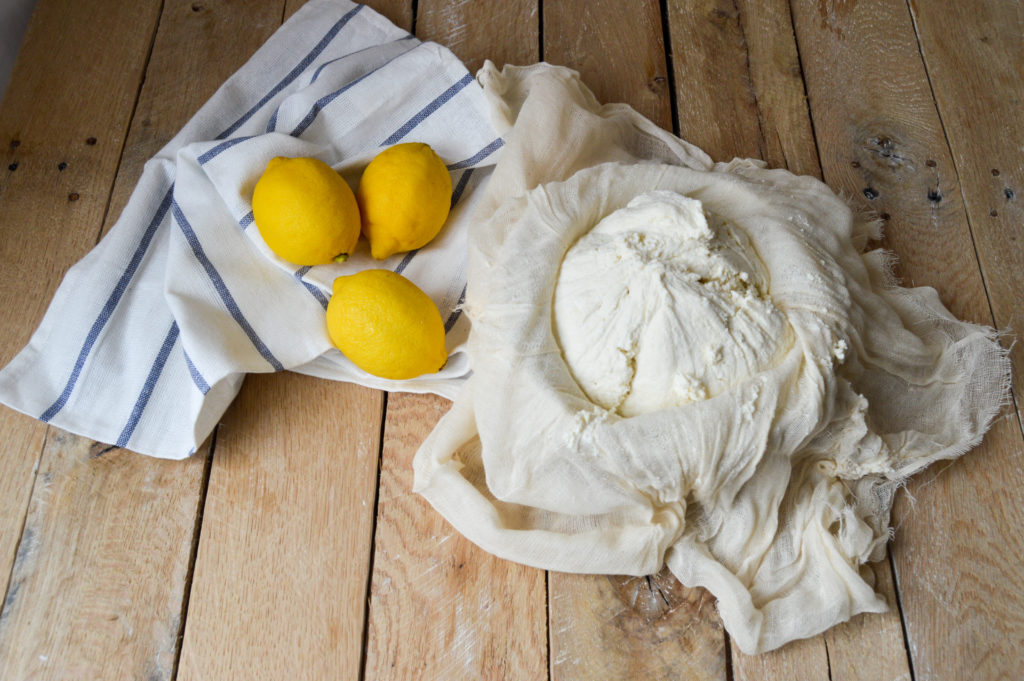
I was really curious on how to make cheese, so I ventured in this whole new thing and the result was really worth it.
This whole process takes like about 20 minutes. You bring the milk almost to a simmer, add lemon juice or vinegar, and then let it sit for 15 minutes or so. Another 10 minutes into straining the curds, and then the ricotta is ready for your meal.
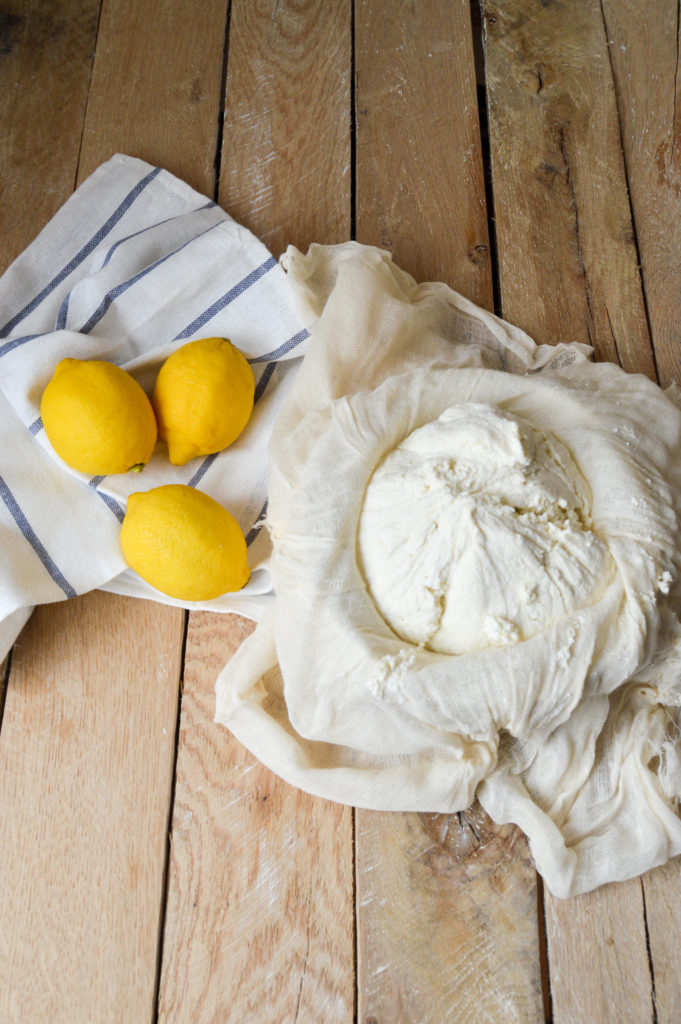
I prefer using whole milk, the result is better when I do. Homemade ricotta really does have better texture than store bought. You can also choose how wet or dry the ricotta is simply by how long I let it drain. For example for this today’s dish I let it drain longer to get a drier ricotta and not a lot of liquid in my lasagna.
You can also let it drain overnight with a weight over it and the next morning you will have a crumbly block of cheese, sort of “queso crema or queso fresco”, to go for example over some delicious chilaquiles rojos.
1. Homemade cheese contains only the ingredients chosen by you, “the best ingredients”, not any additives or artificial colors or stabilizers. Most store bought cheeses contain traces of antibiotics, growth hormones and pesticides.
2. It’s super easy to make! You don’t have to be a professional cook to succeed your cheese.
3. It’s inexpensive. Dah! mostly milk, a large pot, acid (vinegar or lemon), and when you get fancier some cheese cultures. Unlike other hobbies you don’t need a lot of fancy supplies to make cheese.
4. It’s delicious! No matter what you think, homemade ricotta really does have better texture and flavor than anything I’ve ever bought at the grocery store.
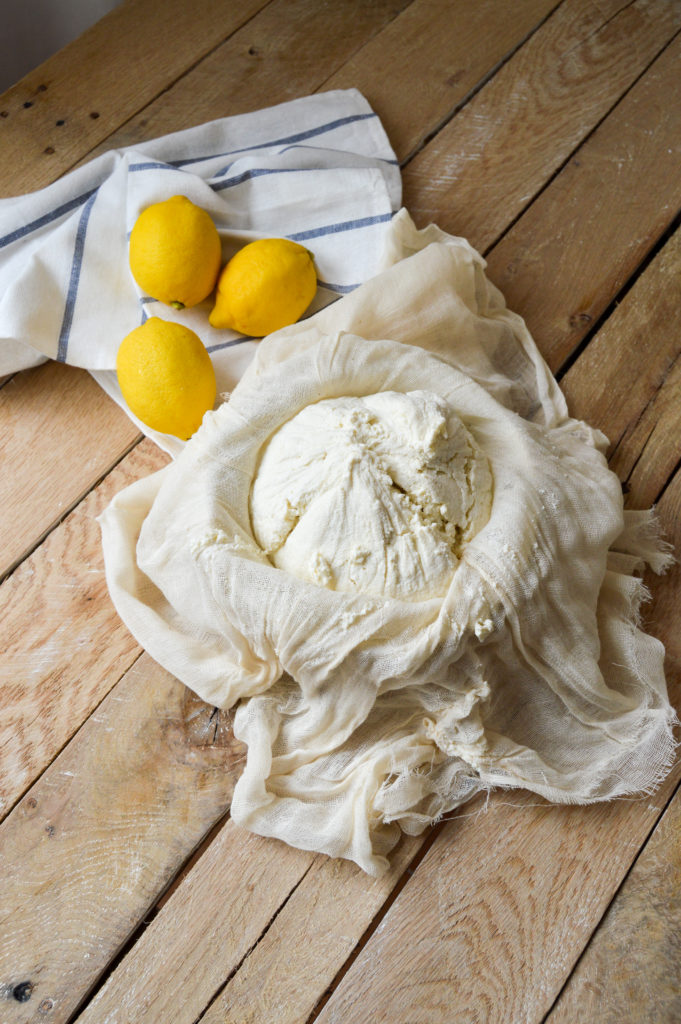
Making my own ricotta cheese
Ingredients
- 8 cups whole milk
- 1 cup heavy cream
- 1/4 cup distilled white vinegar or 3 tablespoons of lemon juice
- 1/2 teaspoon salt
Instructions
- Prepare the strainer. Line the fine-mesh strainer with a large piece of cheesecloth, and set it over the nonreactive bowl. Set this contraption on your work surface so to have it ready for the cheese mixture.
- If you don't use cheesecloth, it will be difficult to separate the cheese curds from the whey. You can substitute a double layer of paper towels or a thin cotton dishcloth in a pinch.
- Heat the milk and salt. Place the milk and salt in the saucepan and heat the mixture over medium-high heat. Allow it to heat until it reaches 200 degrees F. When the mixture is hot enough, turn off the heat and move the saucepan so the milk can begin to cool. It should take about 5 minutes to reach the correct temperature.
- Stir the mixture as it's heating to prevent it from scorching on the bottom.[1]
- Use an instant-read thermometer to determine whether the mixture has reached the right temperature. If you don't let it cook long enough, the curds won't separate from the whey. If you overcook it, the texture will be ruined.
- Slowly add the acid. Use one hand to stir constantly while the other hand slowly pours the vinegar or lemon juice into the heated milk. This will cause the curds to coagulate and separate from the whey. You'll see solid bits forming and floating to the top of the liquid. Keep stirring until all of the acid has been added.
- Let the mixture sit until it's thick. Wait about 10 - 20 minutes for the coagulant to go to work and cause the curds to separate from the whey. It's ready when the curds have floated to the top to form a thick layer, leaving the liquid whey underneath.
- Ladle the curds into the strainer. Scoop out the thick top layer of curds and ladle them over the cheesecloth-covered strainer. Keep ladling out the curds until all that's left in the saucepan is the whey. You can discard the whey at this point.
- Let the ricotta drain. Wait at least an hour for the last of the whey to drain from the ricotta through the cheesecloth into the bowl. It will take about half an hour for the ricotta to fully drain. Don't attempt to stir it or push it through the cheesecloth, as this will just push the curds into the cloth.
- If you'd like a creamier final product, stop draining the ricotta after 5 - 10 minutes. For a drier final product, wait an hour for it to drain.
- Spoon the ricotta into a bowl. The finished ricotta is now ready to use in your favorite recipe. It's delicious as part of a savory dish or a dessert. Ricotta will keep in the refrigerator for about a week.
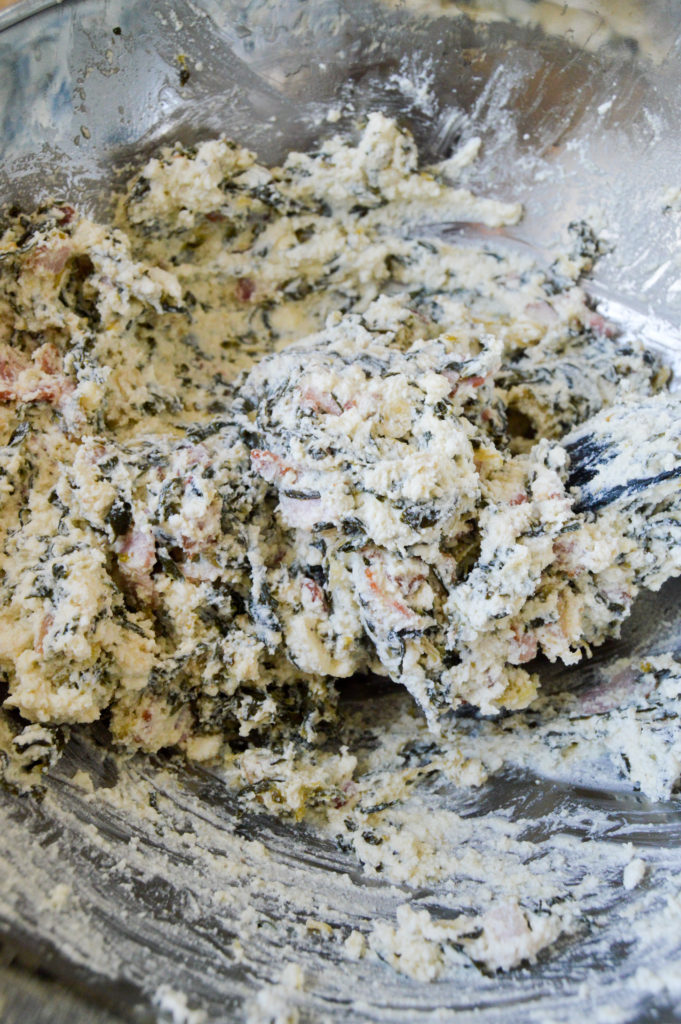
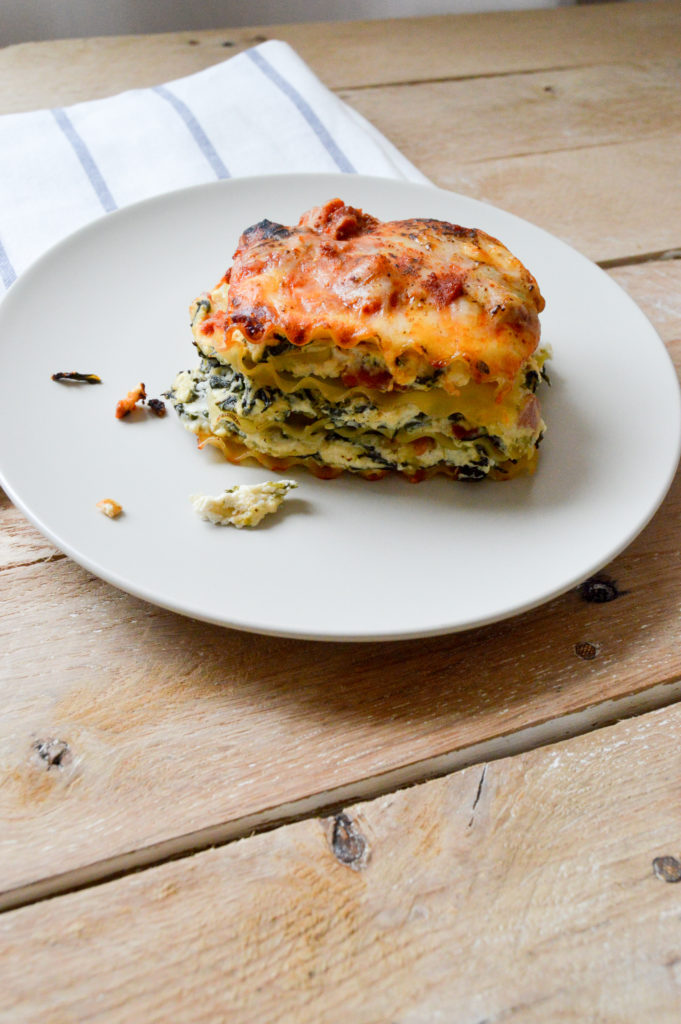
I used my ricotta cheese right away and made a spinach, leek, ricotta and bacon lasagna added to jars of my favorite tomatoes sauce and dinner was served.


2 thoughts on “Making homemade ricotta”
I love making my own fresh cheese. It’s so much better tasting then the store bought kind. Never thought about draining it to make queso fresco! Great idea and can’t wait to try that 🙂 Have a wonderful week Gaila!
Karrie!! thank you for stopping by!! yes deliciously fresh made queso fresco as well!! Have a great week yourself!